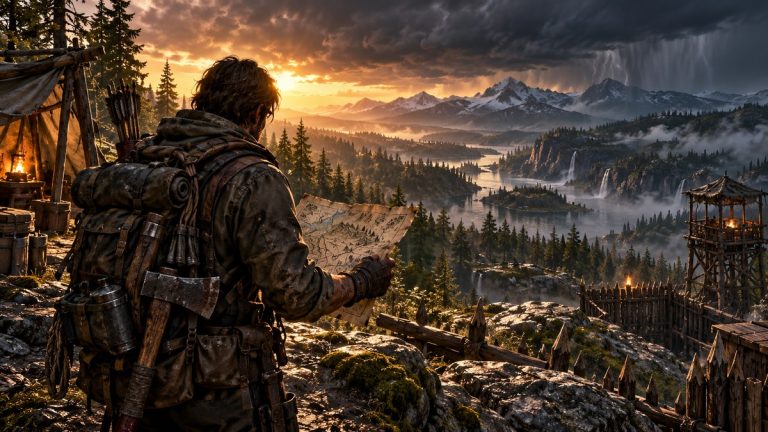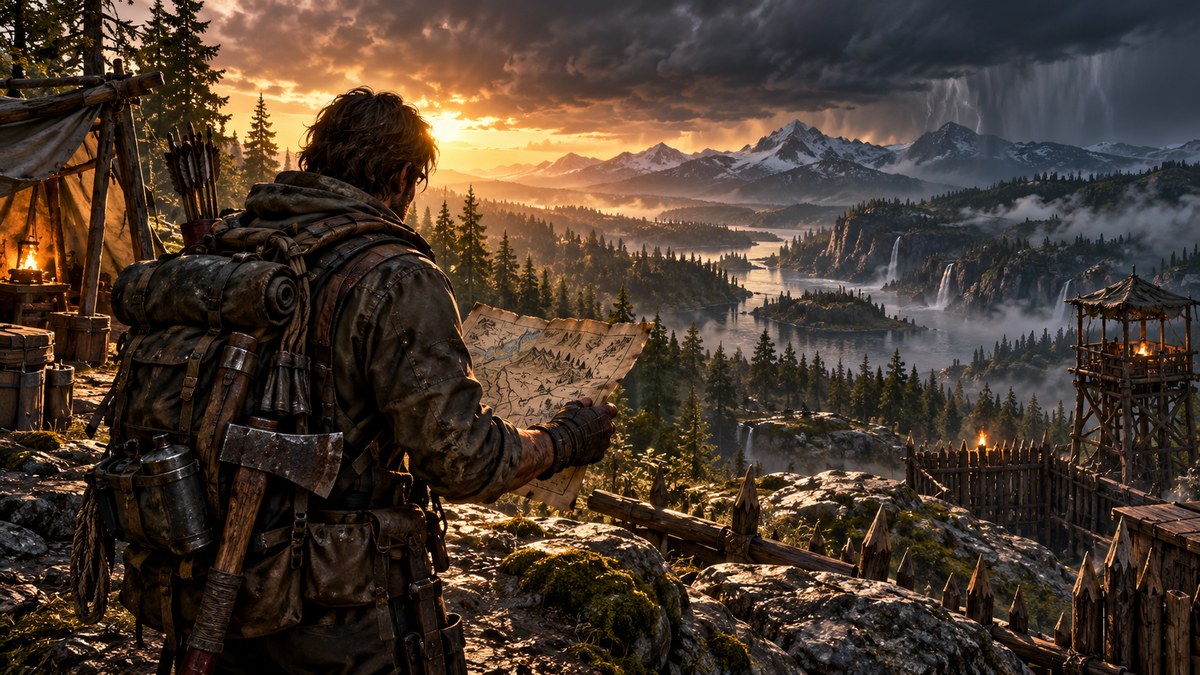
You just spawned into a beautiful, dangerous world. Your inventory is empty. The tutorial told you to gather sticks and drink from a river. Twenty minutes later, you are dead from thirst, a predator, or a random fall. Something feels off. The tutorial is not lying to you, but it is not telling you the whole truth either. It shows you the basic controls, but it hides the real survival strategies that keep you alive past day three.
After spending 40 hours in the year’s biggest survival game, we found exactly what the tutorial misses. These are not secrets. They are the practical, tested methods that separate a successful run from a frustrating restart.
Survival game tutorials teach you to press buttons, but they ignore resource efficiency, map reading, and risk management. This guide gives you five tested strategies that prevent early death: a water-first priority system, a stamina rotation method, a base placement checklist, a crafting tier list, and a threat assessment routine. Use these to survive your first week.
The Water-First Priority System
Most tutorials list food and water together. They are not equal. In every major survival game, water is the single most important resource. You can go two days without food in most games, but you will die from dehydration in a fraction of that time.
Here is the priority order that worked for us:
- Find a water source before you pick up a single weapon.
- Craft a container or purification tool as your second item.
- Scout a secondary water source within five minutes of your spawn point.
- Build your base within a two-minute walk of clean water.
- Store at least three full containers before you sleep.
This list seems simple, but it is the number one reason new players die. They grab a rock, fight a creature, and then cannot find water before their thirst meter empties. Water is your first and most important objective.
How to Read a Map Like a Veteran
The in-game map is a tool, but the tutorial treats it like a picture. It shows terrain, but it does not teach you how to read the terrain for survival. Here are the map reading techniques that saved us hours of wandering.
- Look for color changes that indicate elevation. High ground gives you visibility and safety.
- Trace rivers and streams first. They lead to resources and civilization.
- Mark dangerous zones with a custom pin or screenshot. Avoid them until you have gear.
- Identify natural barriers like cliffs or thick forests. They act as walls for your base.
- Use the sun or moon position to maintain direction if the map is unclear.
Most players ignore the map until they are lost. By then, it is too late. Spend your first two minutes reading the map, not running.
“The best survival players spend more time looking at the map than at their character. The map tells you where to go. The character just walks there.” – Veteran survival game streamer, 2026 interview
The Stamina Rotation Method
Tutorials teach you to sprint. They do not teach you when to stop. Stamina management is the hidden skill that keeps you alive in combat and travel.
Here is a simple table showing the mistake and the fix.
| Situation | Common Mistake | Correct Strategy |
|---|---|---|
| Running from a predator | Sprint until stamina is empty | Sprint in short bursts, then walk to recover |
| Climbing a mountain | Hold sprint while climbing | Climb without sprint, save stamina for a fall |
| Crossing open ground | Jog everywhere | Walk between cover points, sprint only when exposed |
| Fighting a group | Attack until stamina drains | Attack twice, dodge, wait for stamina to refill |
| Carrying heavy resources | Fill inventory to max | Leave room for one sprint’s worth of empty weight |
The rule is simple: never let your stamina bar drop below 20 percent. That reserve is your emergency escape. If you run it dry, a single wolf or fall can end your run.
Base Placement Checklist
Tutorials tell you to build a shelter. They do not tell you where. Bad placement is the second biggest killer of new players. We tested five base locations and found a clear winner.
Your base needs these four things within a short walk:
- Water (clean and accessible)
- Resources (wood, stone, or metal nodes)
- Visibility (a clear view of approaching threats)
- Escape route (at least two directions to run)
Avoid these common mistakes:
- Building in a valley. Water collects there, but so do predators.
- Building too close to a resource node. Other players or creatures will visit it.
- Building on a cliff edge. One misstep and you fall to your death.
- Building without a door. It sounds obvious, but many tutorials skip door mechanics.
The best location we found is a gentle hill with a water source at the bottom and a forest behind it. You have water, wood, and a high vantage point. You can run uphill to escape or downhill to the water. It is not perfect, but it gives you options.
Crafting Tier List for the First Week
The tutorial shows you crafting recipes, but it does not prioritize them. You cannot craft everything. You need a plan. Here is the tier list we developed after 40 hours.
Tier 1: Craft these first
– Water container
– Basic knife or cutting tool
– Bandage or healing item
– Fire starter
Tier 2: Craft before nightfall
– Shelter kit or tent
– Torch or light source
– Storage box or bag
– Ranged weapon (sling, bow, or spear)
Tier 3: Craft by day three
– Armor (even basic)
– Fishing rod or trap
– Map or compass upgrade
– Cooking station
Tier 4: Ignore until week two
– Decorative items
– Furniture
– Advanced tools for specific resources
– Vehicles
New players waste time on Tier 4 items because they look fun. They are not worth it. A fancy chair does not protect you from the rain. Stick to the list, and you will have a stable base by day three.
Threat Assessment Routine
The tutorial teaches you to fight. It does not teach you to assess. Every creature or player you meet is a risk. You need a routine to decide if you should fight, flee, or hide.
Here is the routine we used:
- Check your health and stamina. If either is below 50 percent, flee.
- Check your weapon durability. If it is low, do not engage.
- Check the creature’s behavior. Is it patrolling, sleeping, or hunting? Hunting creatures are harder to fight.
- Check your escape path. Can you reach cover in three seconds?
- Make a decision. If any check fails, you retreat.
This routine takes five seconds. It saved us dozens of deaths. Most players die because they charge in without checking their own status first. The creature might be weak, but if you are weaker, you lose.
The Real Trap: Inventory Management
Tutorials give you a backpack and tell you to pick things up. They do not teach you to say no. Inventory management is a mental game. You will find 50 items in the first hour, but you can only carry 10.
Here is the rule: if you would not use it in the next five minutes, leave it. Do not carry extra sticks just because they are there. Do not carry three different types of berries. Carry what you need, and leave the rest.
We created a simple inventory checklist:
- One water container (full)
- One weapon (your best)
- One tool (knife or axe)
- One bandage or healing item
- One light source
- Five free slots for resources you find on the way
If you have more than five items in your bag, drop something. You cannot run fast with a full inventory, and speed is survival.
Why the Tutorial Fails
We do not blame the developers. Tutorials have a hard job. They need to teach you the controls without overwhelming you. But they often skip the real lessons because those lessons require context.
The tutorial teaches you to press the drink button. It does not teach you that water sources can be poisoned, or that some rivers have predators, or that you need to boil water in cold climates. Those details come from experience. This guide is that experience, written down so you do not have to die to learn it.
If you want to improve your overall gaming performance, check out our guide on how to optimize your gaming setup for maximum performance. A good setup helps you react faster, which matters in survival games.
How to Apply These Tips Right Now
You do not need to memorize everything. Start with the water-first priority system. Load into your game, find water, and build your base near it. Do that for three runs. Then add the stamina rotation method. Practice keeping your stamina above 20 percent. After that, use the base placement checklist for your next build.
Each tip builds on the last one. You do not need to be perfect. You just need to be better than yesterday.
Final Advice from 40 Hours of Dying
We died a lot. We drowned, got eaten, fell off cliffs, and starved. Every death taught us something. The tutorial cannot teach you those lessons because they are specific to your playstyle. You will die. That is fine.
But you can die less. Use these strategies, and you will survive the first week. Once you survive the first week, you have enough resources to learn the rest on your own. The hard part is getting past day one.
Good luck out there. Stay hydrated, check your map, and never let your stamina hit zero. See you in the wilderness.
About the Author